Integration of Odoo with Prom UA is a software solution that automates the exchange of product data and enables the retrieval of orders from the marketplace.
The solution features a user-friendly interface, flexible configuration options, and adaptability to specific business needs. It also supports connecting multiple stores from the Prom marketplace.
The integration module consists of two parts, which can be implemented either gradually or together. The basic part is a module for generating XML price lists with product information. The second part provides full integration, enabling API-based exchange of product and order data with Prom.
User Configuration
At the initial setup stage, grant appropriate access rights to users who will view and manage stores. There are two types of roles:
User — can only view information and perform a limited set of operations.
Administrator — has full access rights to all objects.
To assign a role, go to the user management menu. Select a user, open the Access Rights tab, and in the Other section, choose a role from the Merchant Center list.

The User role has the following restrictions and does not allow performing these operations:
Connecting new stores
Changing the store mode from Test to Production and vice versa
Creating object mappings manually
Viewing technical integration details
Adding a Store
Next, connect your Prom store to Odoo. This requires an API token, which must be generated in your Prom seller account.
Log in to your seller account, open the Settings section, and go to the API Token Management menu.
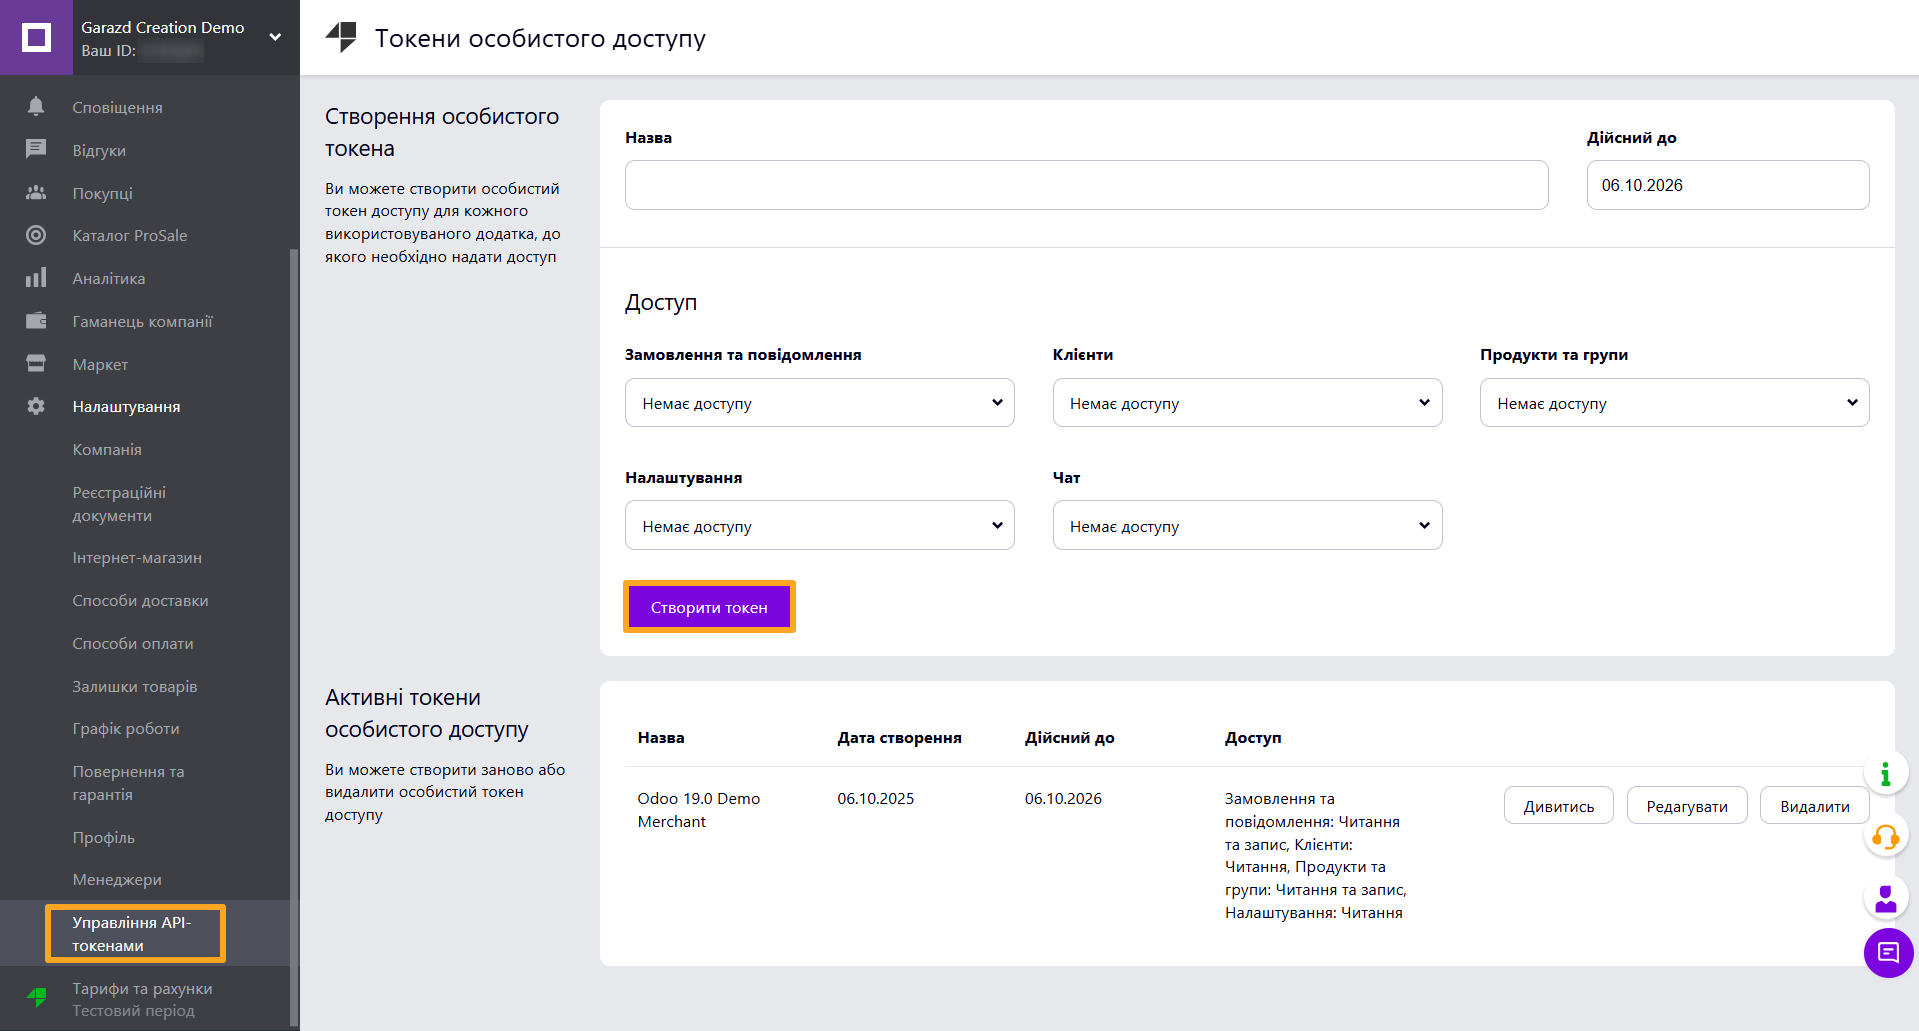
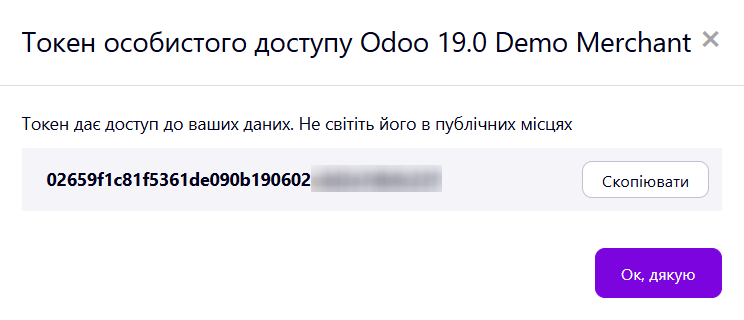
Enter a name, configure access parameters, and click the Create Token button. After creation, a new record with the token appears in the list below. Copy the token by clicking View and then Copy in the popup window.
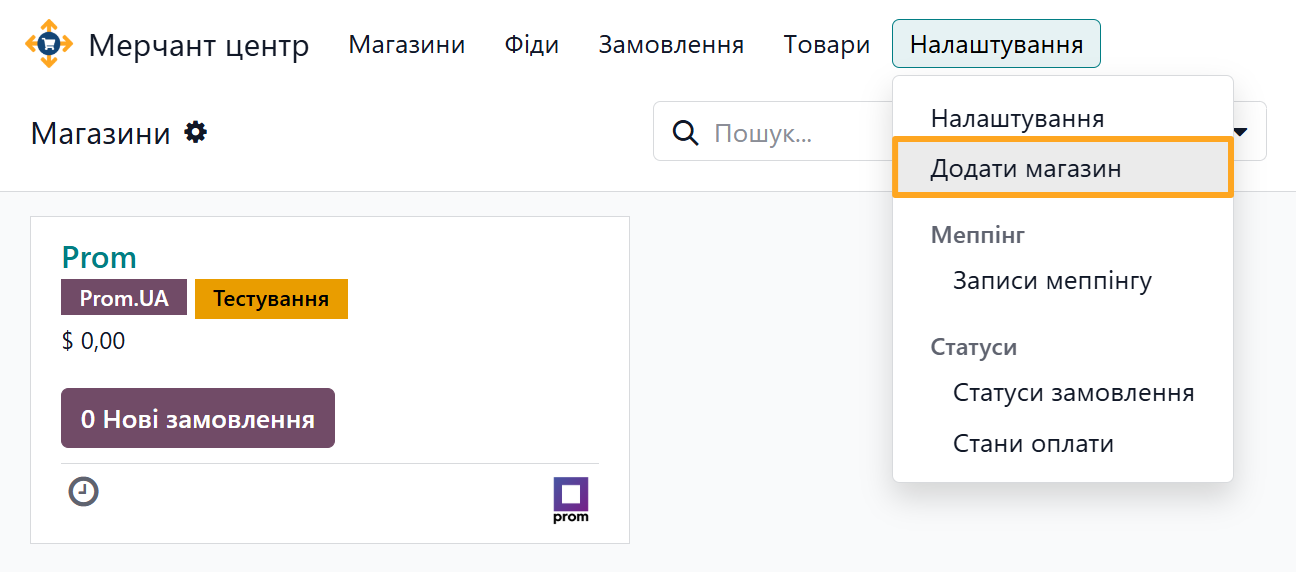
Then return to Odoo and go to Merchant Center - Configuration - Add Store.
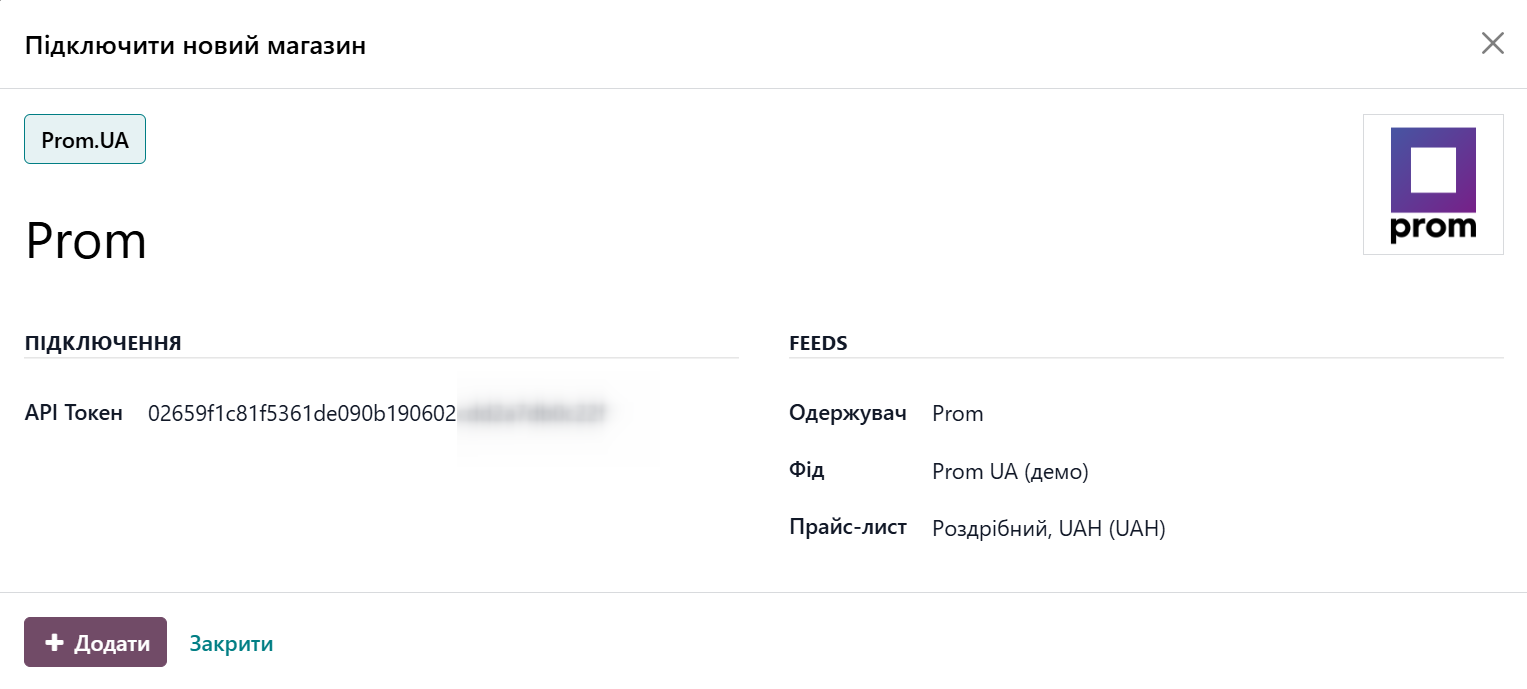
In the wizard, perform the following steps:
Select the type of marketplace where your store is located — in this case, Prom.UA
Enter the store name
Replace the store logo if needed
Paste the copied API token from the Prom account
Select the data feed with products for this store
Click the Add button
Integration Modes
The integration with the Prom marketplace by Garazd Creation can operate in two modes:
Test Environment
Production Environment

The Test Environment allows you to safely check and verify the functionality. In this mode, the system only retrieves data from the real store for testing and initial setup — without sending or updating any data back.

The Production Environment is the full operational mode. After completing testing and confirming that the integration works correctly, switch the store to this mode. From that moment, changes in product assortment, prices, stock quantities, and order statuses are automatically synchronized between Odoo and Prom.
Settings
After adding the store, you need to configure parameters to enable synchronization and data exchange. The settings are divided into several sections:
Orders
Partners
Shipping
Payments
Products
Order Settings
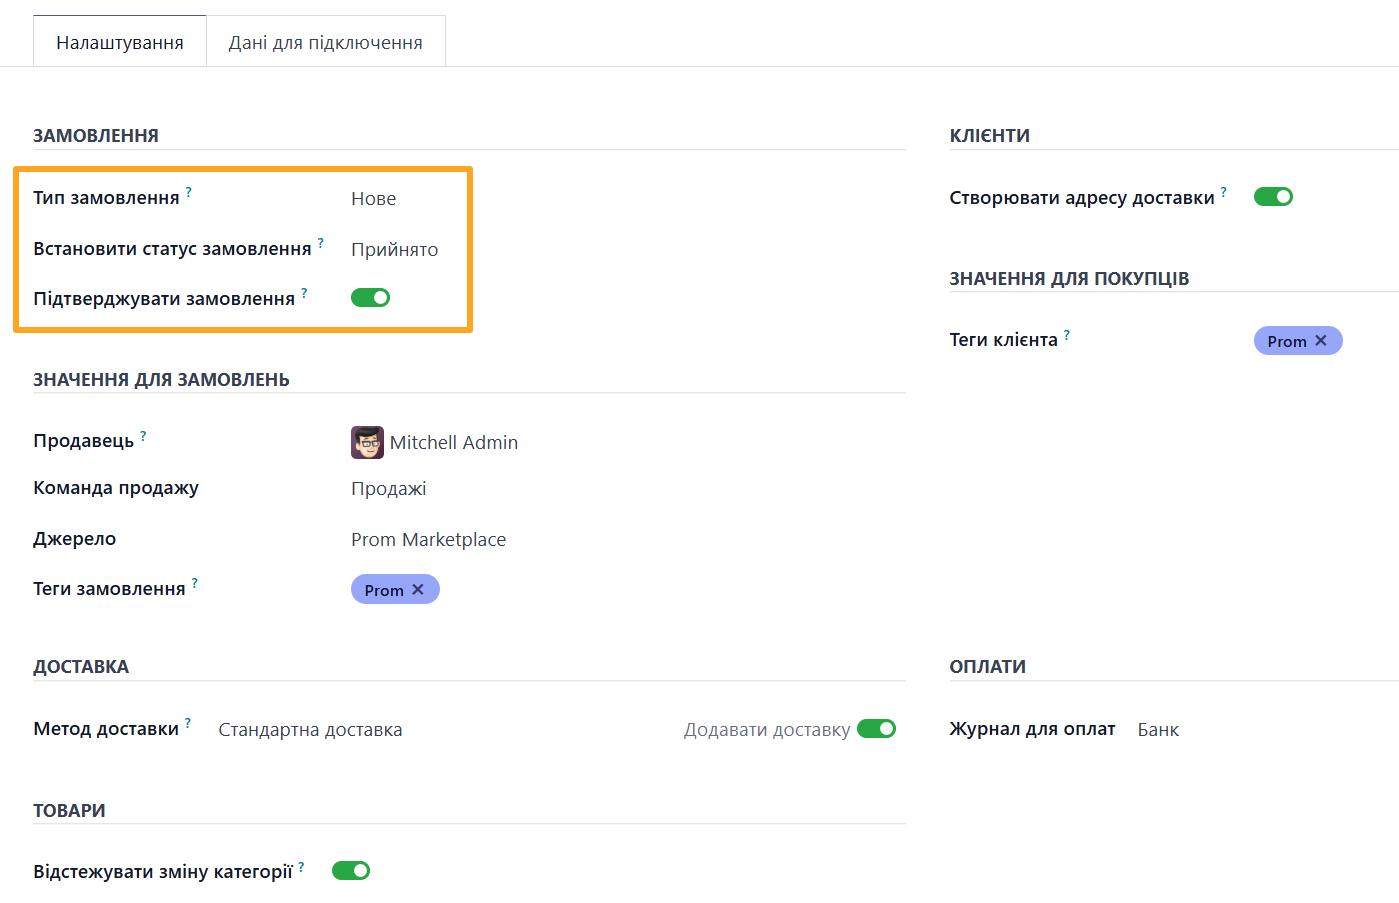
Start with the order synchronization parameters. The following fields control importing orders from Prom and subsequent actions with imported orders:
Select Order Type, the status from which to import orders from Prom.
To change the order status immediately after import, select the desired status in Set Order Status field.
Enable Confirm Orders to automatically confirm orders in Odoo immediately after import (see Automatic Status Update section).

In the Values for Orders section, specify the data to be added to orders imported from Prom:
Select the responsible manager in the Salesperson field
Specify Sales Team, Source, and Order Tags. This allows marking orders with corresponding tags and enables convenient filtering.
Partner Settings
The Partners settings section allows configuring the following parameters.

Create Delivery Address option determines whether to create an additional record with delivery information linked to the partner record.
A customer placing an order on Prom.ua can provide different delivery addresses or specify another person as the recipient. To record both the partner’s contact information and delivery details in Odoo, enable the Create Delivery Address option.
Partner Tags option helps identify partners created through this integration. Select tags that will be automatically added to partner records imported from Prom.

Shipping Settings
In the Shipping section, specify the delivery method to be added as a separate line in orders imported from Prom.

To activate, select one of the methods and enable Add shipping option.
This requires an additional module that combines both solutions. The module is provided free of charge for customers of both integrations.
Payment Settings
Select a Payment Journal to automatically record payments made on Prom.ua. After this, payments for orders are recorded in the selected journal.

Product Settings
Prom.ua algorithms analyze the selected product category, name, description, and keywords to automatically determine the product category on the marketplace. Sometimes this may result in changing the category you selected to a different one. To stay informed about such changes, enable the Track Category Changes option in the Products section.

Products
The exchange of product information between Odoo and Prom is carried out through XML data feeds. The solution includes a ready to use XML feed template that meets Prom’s technical requirements.
To view feeds linked to stores, go to Merchant Center - Feeds.

Prom Product Categories
The solution allows importing Prom product categories and their attributes into Odoo. To perform these actions, go to Merchant Center - Products, and then to:
Categories – Prom.UA to view the list of Prom product categories
Import Categories – Prom.UA to launch the category import wizard
Import Attributes – Prom.UA to launch the attribute import wizard for Prom categories

Synchronization
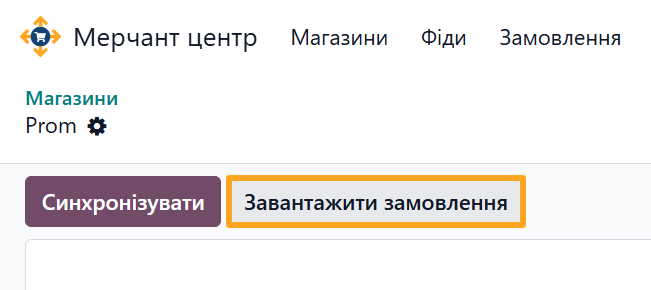
After completing all the settings, click the Sync button to perform the initial synchronization. During this process, relationships between data in Odoo and on Prom are created, and the following objects are imported:
Product categories
Order statuses
Product stock levels and prices
Sales orders

Sales Orders
Orders imported from the Prom.ua marketplace contain all the necessary information:
The Merchant field displays the store name and the order number from Prom
The Status field shows the current order status, payment state, and payment method

These Prom-related fields are also added to the order list view — activate the corresponding columns to display them.

Additionally, in the Sales Order, on the Order Lines tab, marketplace fee information for each product can be displayed by enabling the corresponding column.

Automatic Status Update
The solution provides automatic status updates for orders on Prom when the following operations are performed in Odoo:
Setting the Accepted status after confirming a sales order in Odoo.
Setting the Completed status after confirming the delivery document and shipping the ordered products.
Setting the Cancelled status after cancelling the sales order in Odoo. An additional wizard allows specifying the cancellation reason and adding a comment.

Advanced Settings
Mapping
Mapping is the process of establishing relationships between objects in two different information systems. The main purpose of mapping is to clearly identify a specific object by its unique identifier, which can be a numeric or text code.
To create a link manually, open the product variant and, on the Sales tab, go to the Merchant Center section.
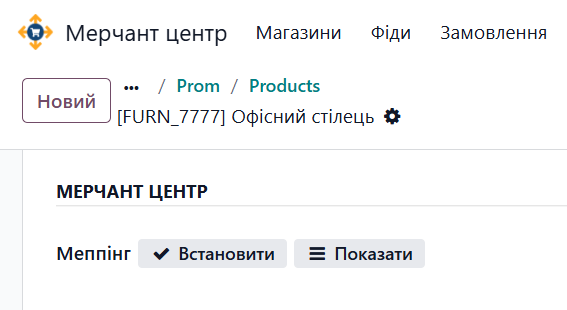
Click Set, select the store, and enter the external identifier. Click Set again to save it.

To view all existing mappings for the current product, click Show.
The complete list of object mappings in Odoo with the connected stores is available under Merchant Center - Configuration - Mapping - Mapping Records.

Scheduled Actions
Synchronization with the Prom marketplace is divided into three parts, each managed by a scheduled action.

Base Synchronization handles updates of general objects, including:
Order statuses
Payment states
Product categories
Synchronization interval: once per day.
Product Synchronization transfers product data such as prices, stock quantities, and performs mapping.
Synchronization interval: every 3 hours.
Order Synchronization retrieves new orders and updates the statuses of existing ones.
Synchronization interval: every 30 minutes.
The execution intervals of scheduled actions can be adjusted as needed by modifying the corresponding actions.
Technical Information
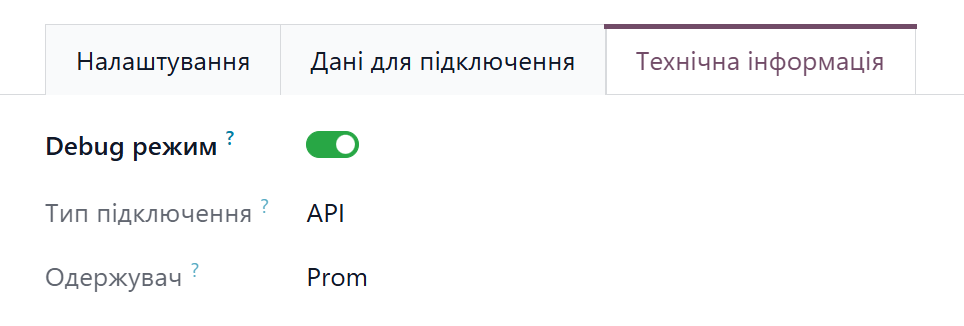
To receive service messages and request/response data from Prom in the Odoo log file, activate Debug mode.
Summary
Use the ready Odoo integration with the Prom marketplace to connect your stores and automate order processing.