
Simplify the Odoo express checkout process by managing address fields to be filled in
Use Case

Jorem ipsum dolor sit amet, consectetur adipiscing elit. Nunc vulputate libero et velit interdum, ac aliquet odio mattis. Class aptent taciti sociosqu ad litora torquent per conubia nostra, per inceptos himenaeos.
Forem ipsum dolor sit amet, consectetur adipiscing elit. Nunc vulputate libero et velit interdum, ac aliquet odio mattis. Class aptent taciti sociosqu ad litora torquent per conubia nostra, per inceptos himenaeos.
Dorem ipsum dolor sit amet, consectetur adipiscing elit. Nunc vulputate libero et velit interdum, ac aliquet odio mattis.
It is a long established fact that a reader will be distracted by the readable content of a page
Korem ipsum dolor sit amet, consectetur adipiscing elit. Nunc vulputate libero et velit interdum, ac aliquet odio mattis. Class aptent taciti sociosqu ad litora torquent per conubia nostra, per inceptos himenaeos.
Korem ipsum dolor sit amet, consectetur adipiscing elit. Nunc vulputate libero et velit interdum, ac aliquet odio mattis.
Odoo App Installation
Upload modules
Upload modules from the ZIP archive to your Odoo hosting, or a GitHub repository connected there.
Place the unzipped modules in your custom add-on directory and restart the Odoo system service.
Update App List
After restarting, activate the Developer Mode, and go to the Apps menu.

Click on Update Apps List to fetch the new modules in the list.
Activate the App
Install the new module, finding it by name and clicking on the Activate button.
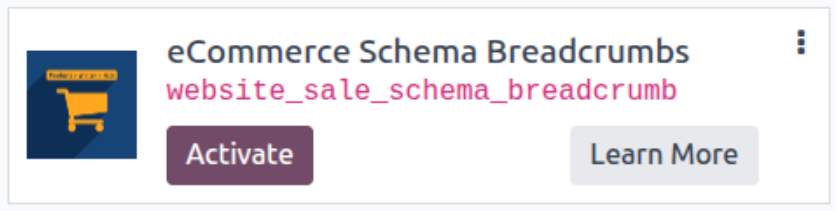
* If you don't see the module, try to remove the default Apps filter from the search bar.
Configuration
Follow the instructions in the module description to complete the installation process and start using the app.
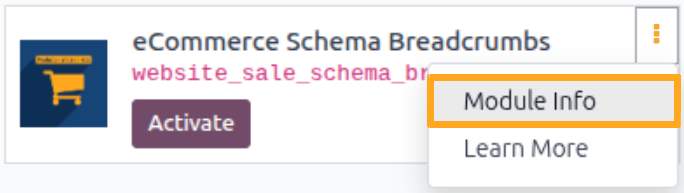

Manual

Configuration
After installation, the module adds an eCommerce Address tab to website settings. On this tab, you can manage address input fields. The module provides flexible settings for both billing and shipping addresses.

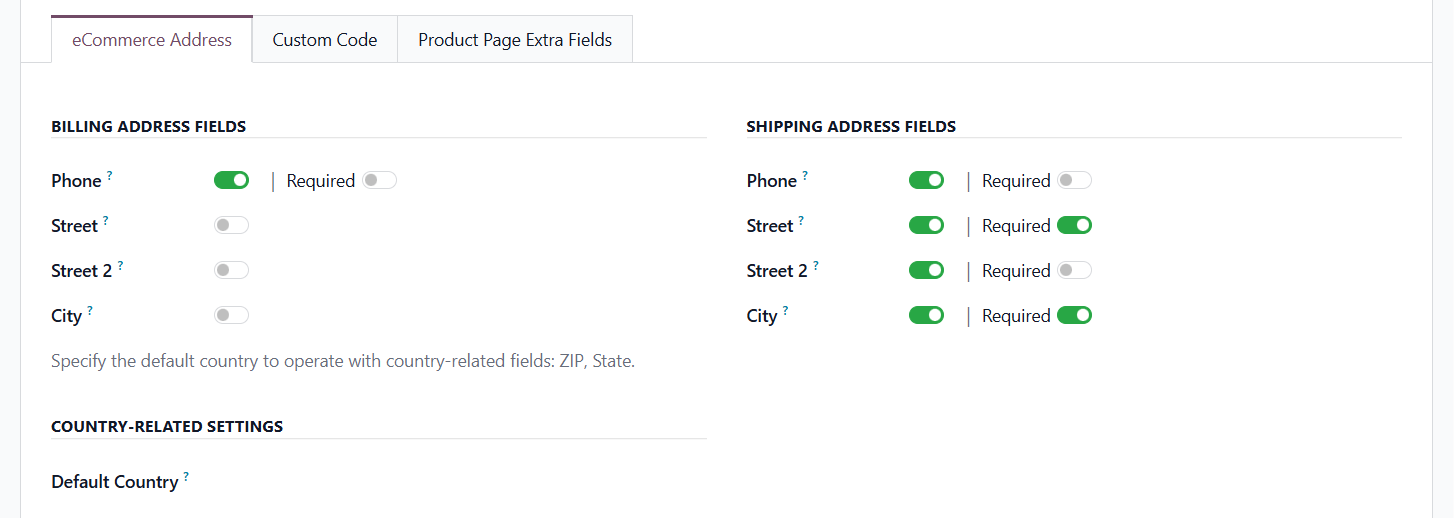
The first toggle determines whether to show the field on the website, while the Required toggle sets whether the field is mandatory.
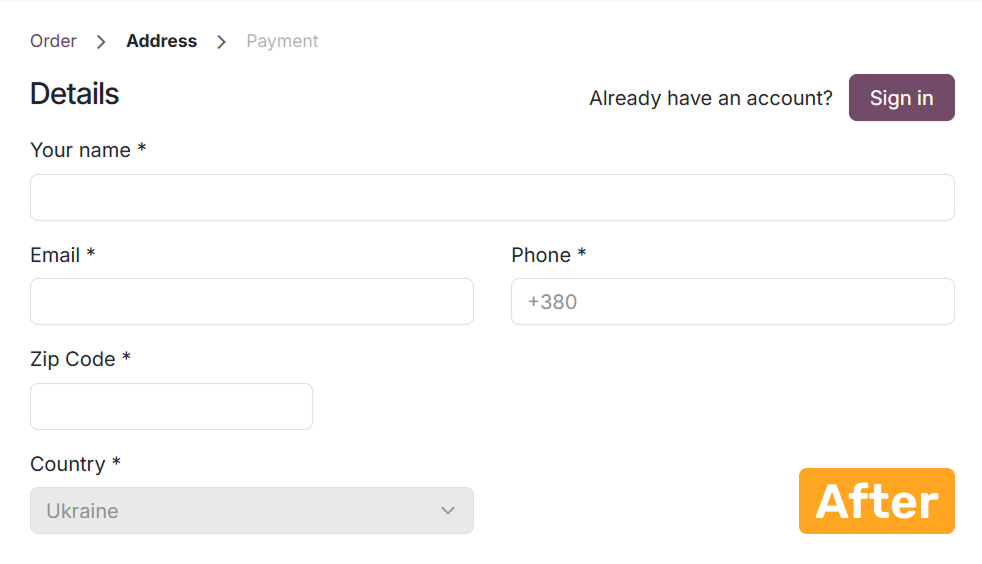
To configure country-related fields, select a Default Country.
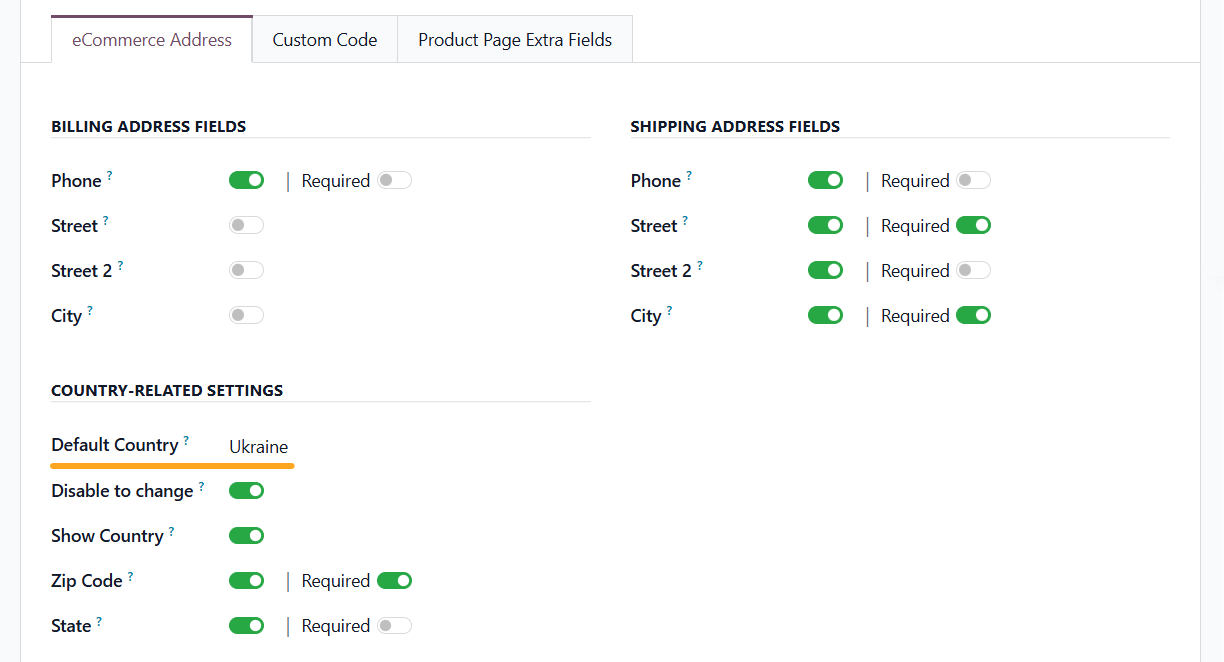
Depending on your business needs, you can prevent users from changing the country or hide the Country field completely using the Disable to Change and Show Country options.

Comparison
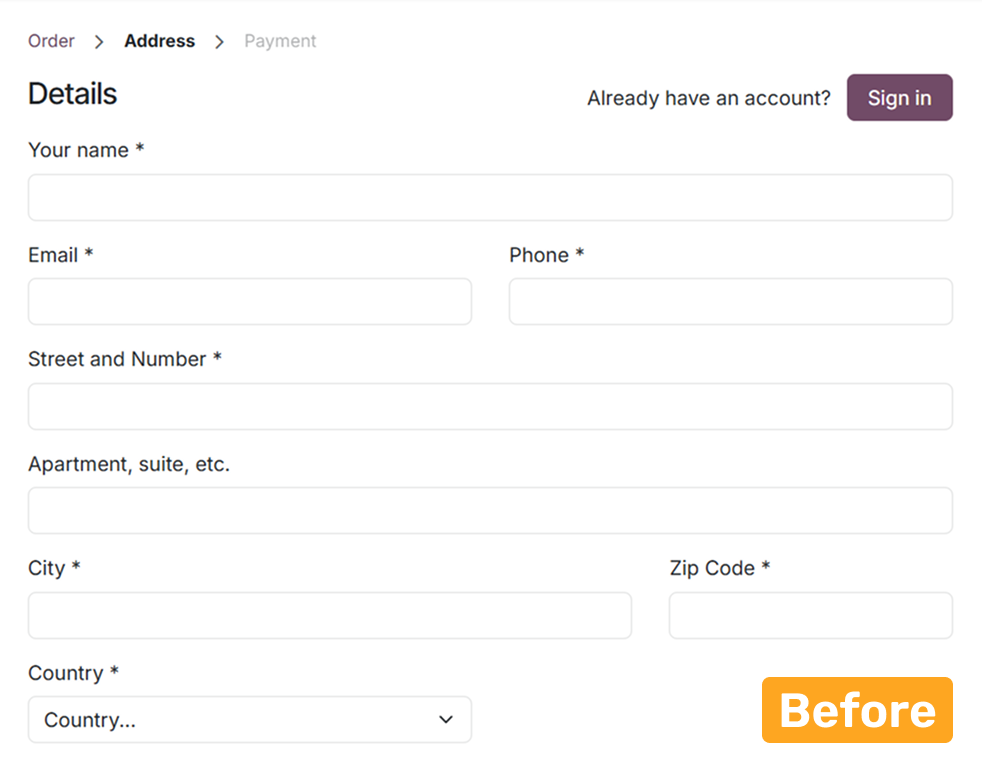
The address input form during checkout before and after configuration is shown below.

Changelog
14.0.1.0.1 2022-04-02
- Refactore by linters
14.0.1.0.0 2021-06-10
- Init version.
15.0.1.0.1 2022-10-12
- Move the settings block to notebook.
15.0.1.0.0 2022-04-01
- Migrate from 14.0
16.0.1.0.0 2022-11-02
- Migration from 15.0.
17.0.1.0.1 2025-06-20
- Fix template layouts for translations.
17.0.1.0.0 2024-03-28
- Migration from 16.0.
18.0.1.1.1 2026-09-10
- Improve the website form view.
18.0.1.1.0 2025-09-17
- Add option to manage B2B address fields: Company Name and VAT number.
18.0.1.0.0 2025-02-27
- Migration from 17.0.
19.0.1.0.1 2026-09-08
- Improve the website form view.
- Improve UA translations.
19.0.1.0.0 2025-10-24
- Migration from 18.0.
Resources



How to manage checkout address fields to hide, show or set fields as required or optional