
Rozetka Marketplace integration to sell your Odoo products
The module has two parts: a solution for generating XML price lists and an API integration with Rozetka for exchanging order data.
| Availability |
Odoo Online
Odoo.sh
On Premise
|
|---|---|
| Compatibility |
Community
Enterprise
|
| Technical Name | merchant_rozetka |
| Version | 20.0.1.0.0 |
| License | OPL-1 |
| Category | |
| Support | Free 60 days support and 360 days bug-fixing |
Use Case

Jorem ipsum dolor sit amet, consectetur adipiscing elit. Nunc vulputate libero et velit interdum, ac aliquet odio mattis. Class aptent taciti sociosqu ad litora torquent per conubia nostra, per inceptos himenaeos.
Forem ipsum dolor sit amet, consectetur adipiscing elit. Nunc vulputate libero et velit interdum, ac aliquet odio mattis. Class aptent taciti sociosqu ad litora torquent per conubia nostra, per inceptos himenaeos.
Dorem ipsum dolor sit amet, consectetur adipiscing elit. Nunc vulputate libero et velit interdum, ac aliquet odio mattis.
It is a long established fact that a reader will be distracted by the readable content of a page
Korem ipsum dolor sit amet, consectetur adipiscing elit. Nunc vulputate libero et velit interdum, ac aliquet odio mattis. Class aptent taciti sociosqu ad litora torquent per conubia nostra, per inceptos himenaeos.
Korem ipsum dolor sit amet, consectetur adipiscing elit. Nunc vulputate libero et velit interdum, ac aliquet odio mattis.
Odoo App Installation
Upload modules
Upload modules from the ZIP archive to your Odoo hosting, or a GitHub repository connected there.
Place the unzipped modules in your custom add-on directory and restart the Odoo system service.
Update App List
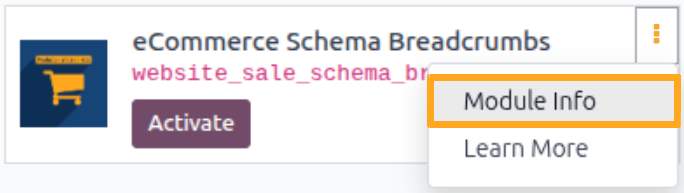
After restarting, activate the Developer Mode, and go to the Apps menu.

Click on Update Apps List to fetch the new modules in the list.
Activate the App
Install the new module, finding it by name and clicking on the Activate button.
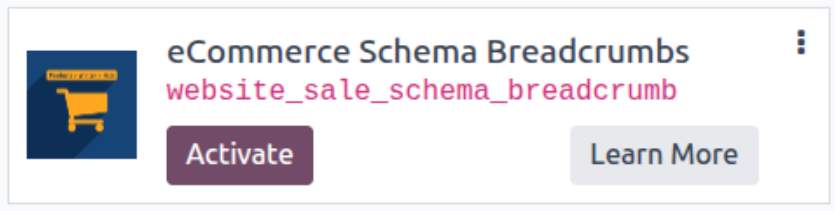
* If you don't see the module, try to remove the default Apps filter from the search bar.
Configuration
Follow the instructions in the module description to complete the installation process and start using the app.

Manual

User Settings
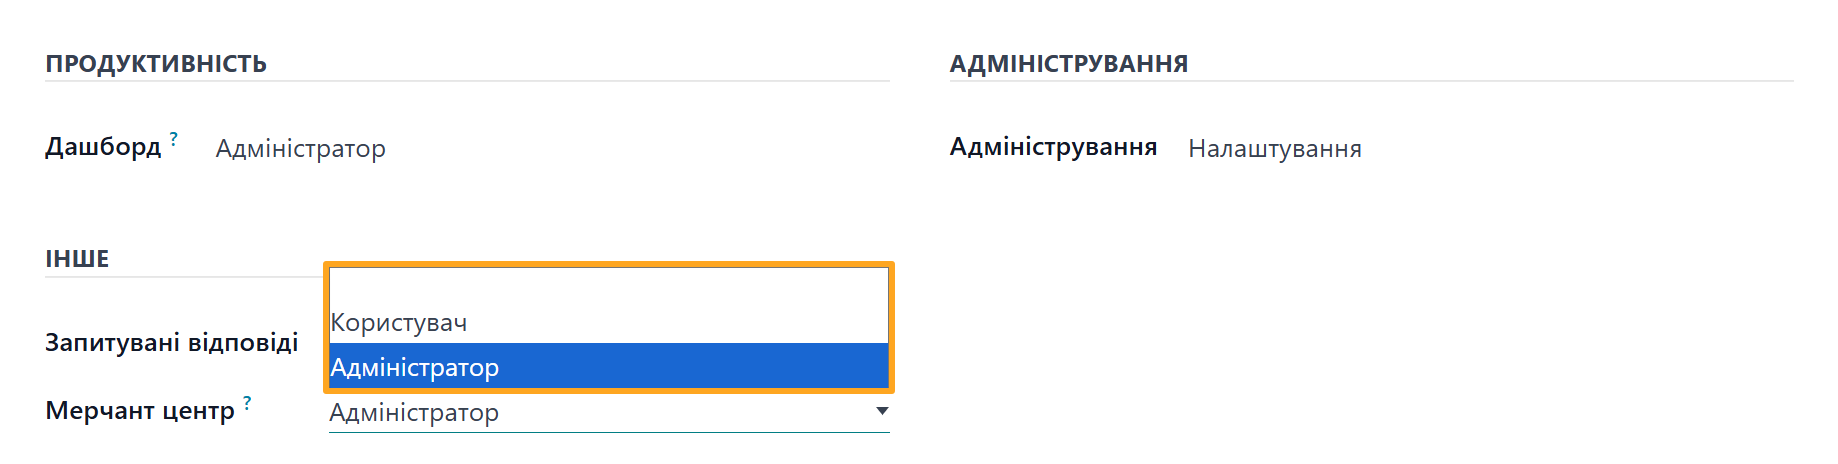
First, assign appropriate permissions to users who will operate and manage the stores. There are two user roles:
- User — restricted to viewing information only
- Administrator — has full rights and access to all objects
To assign roles, go to the user management menu, select a user, and on the Access Rights tab under the Other section, select a role from the Merchant Center field list.
The User role has the following restrictions:
- Cannot connect new stores
- Cannot create object mappings manually
- Cannot change the store state between Test and Production environments.
- Cannot see the Configuration menu and its submenus

Adding a Store
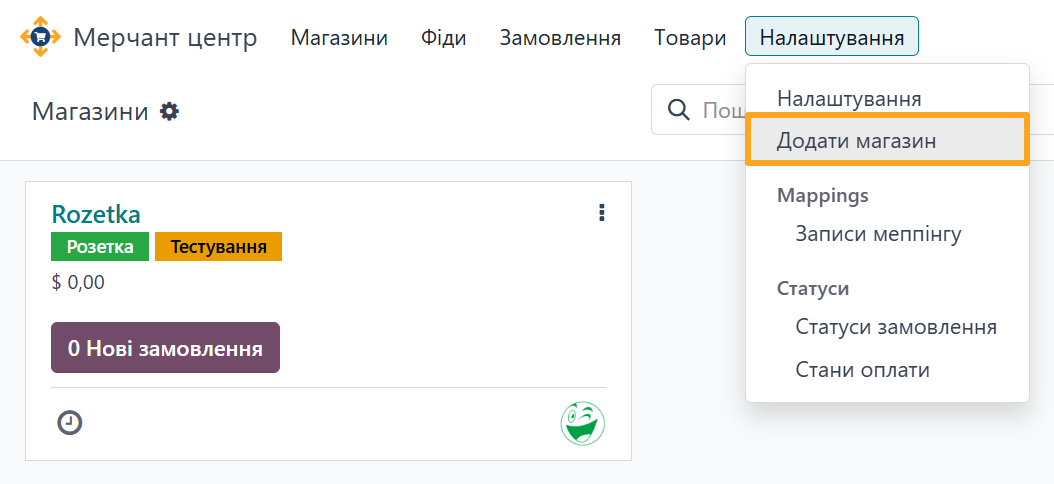
Add a Rozetka store using the setup wizard. Go to Merchant Center — Configuration — Add a Store.
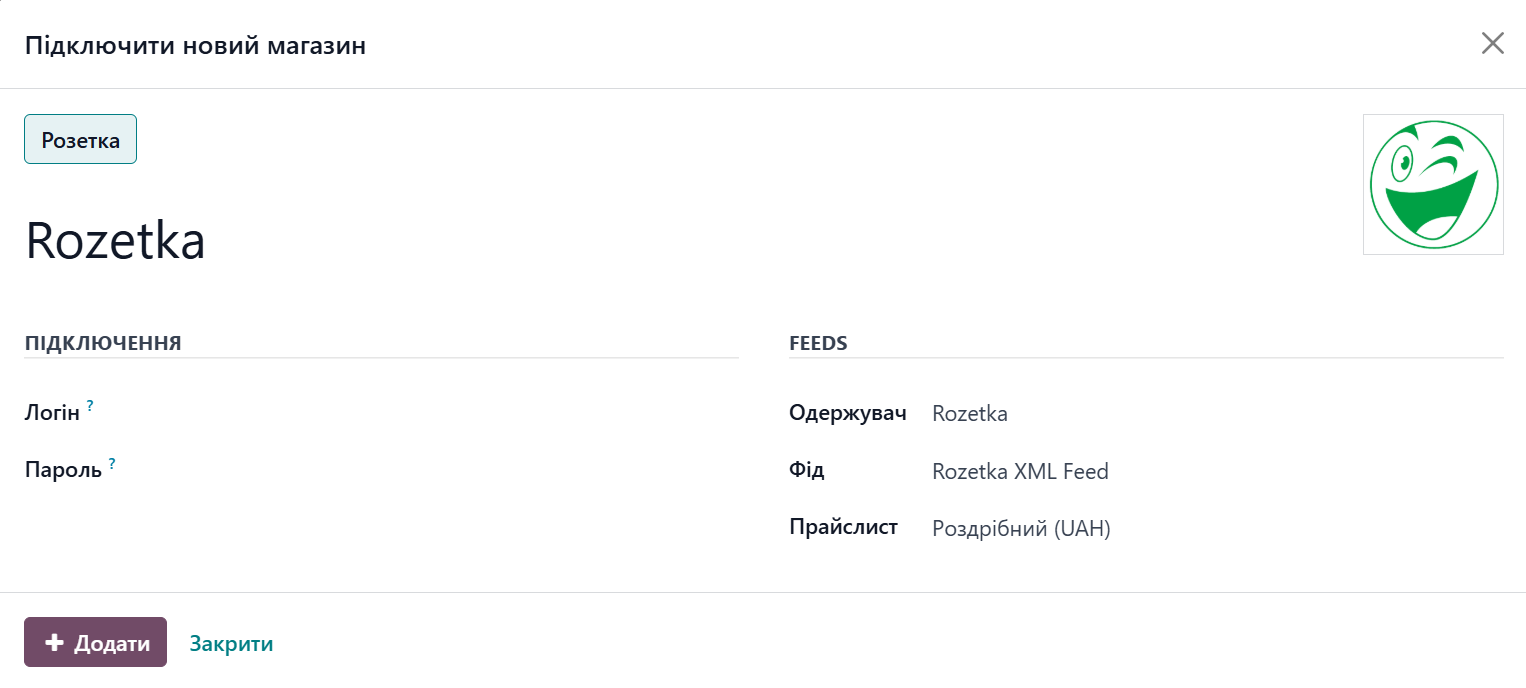
In the pop-up window, perform the following actions:
-
01Select the marketplace type where your store is located — in this case, Rozetka
-
02Enter the store Name
-
03Change your store Logo if needed
-
04Enter your Rozetka account Login and Password
-
05Select the product data Feed for this store
-
06Click Add

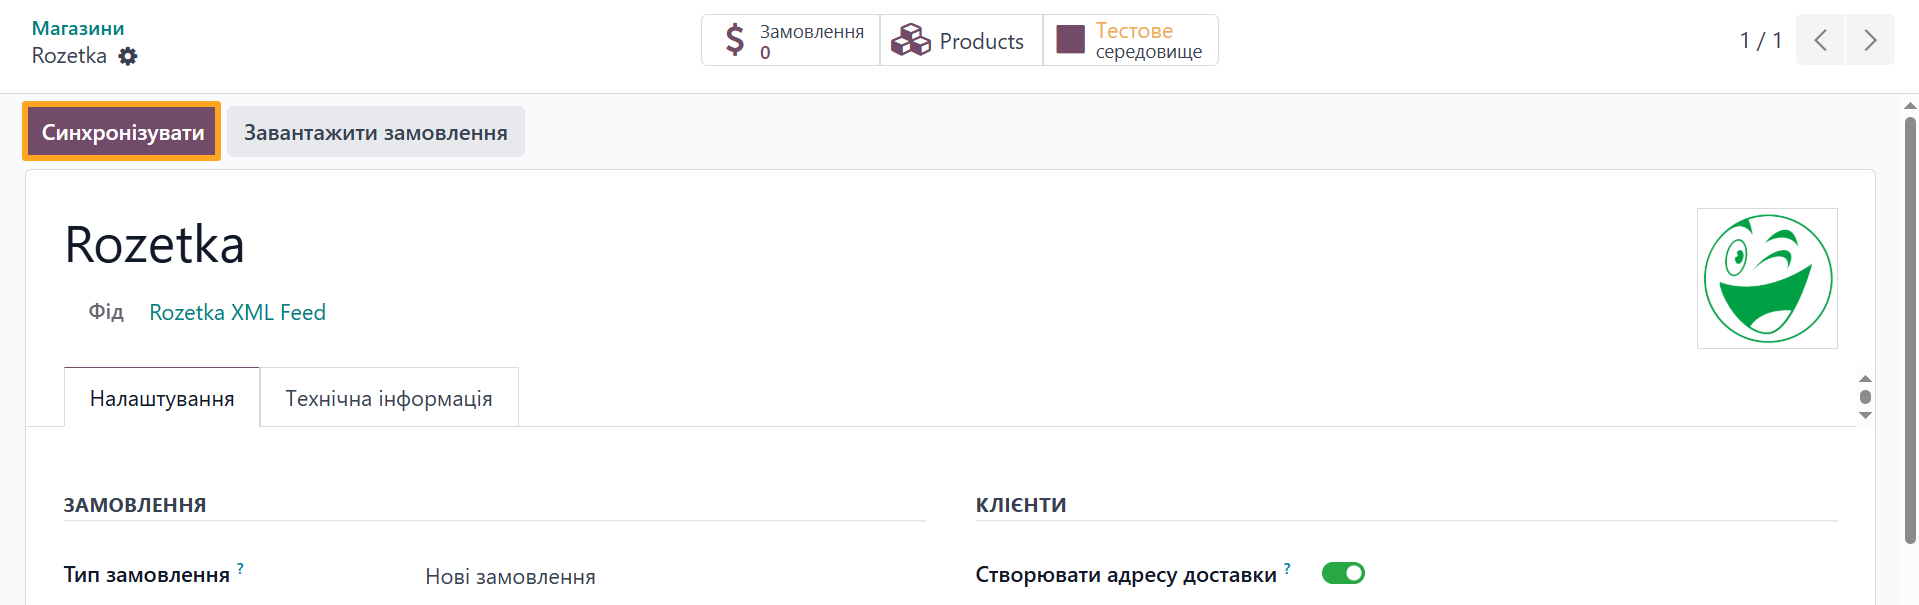
Next, the store settings form opens. To ensure proper operation, you need to map Odoo data with Rozetka data. The initial synchronization processes the following objects:
- Product categories
- Order statuses
- Payment states
- Products
- Orders
Click Sync to start this process.

Store Configuration
After adding a new store, configure its synchronization parameters. Settings are divided into several sections:
- Orders
- Partners (Customers)
- Delivery
- Payments
Sales Order Settings
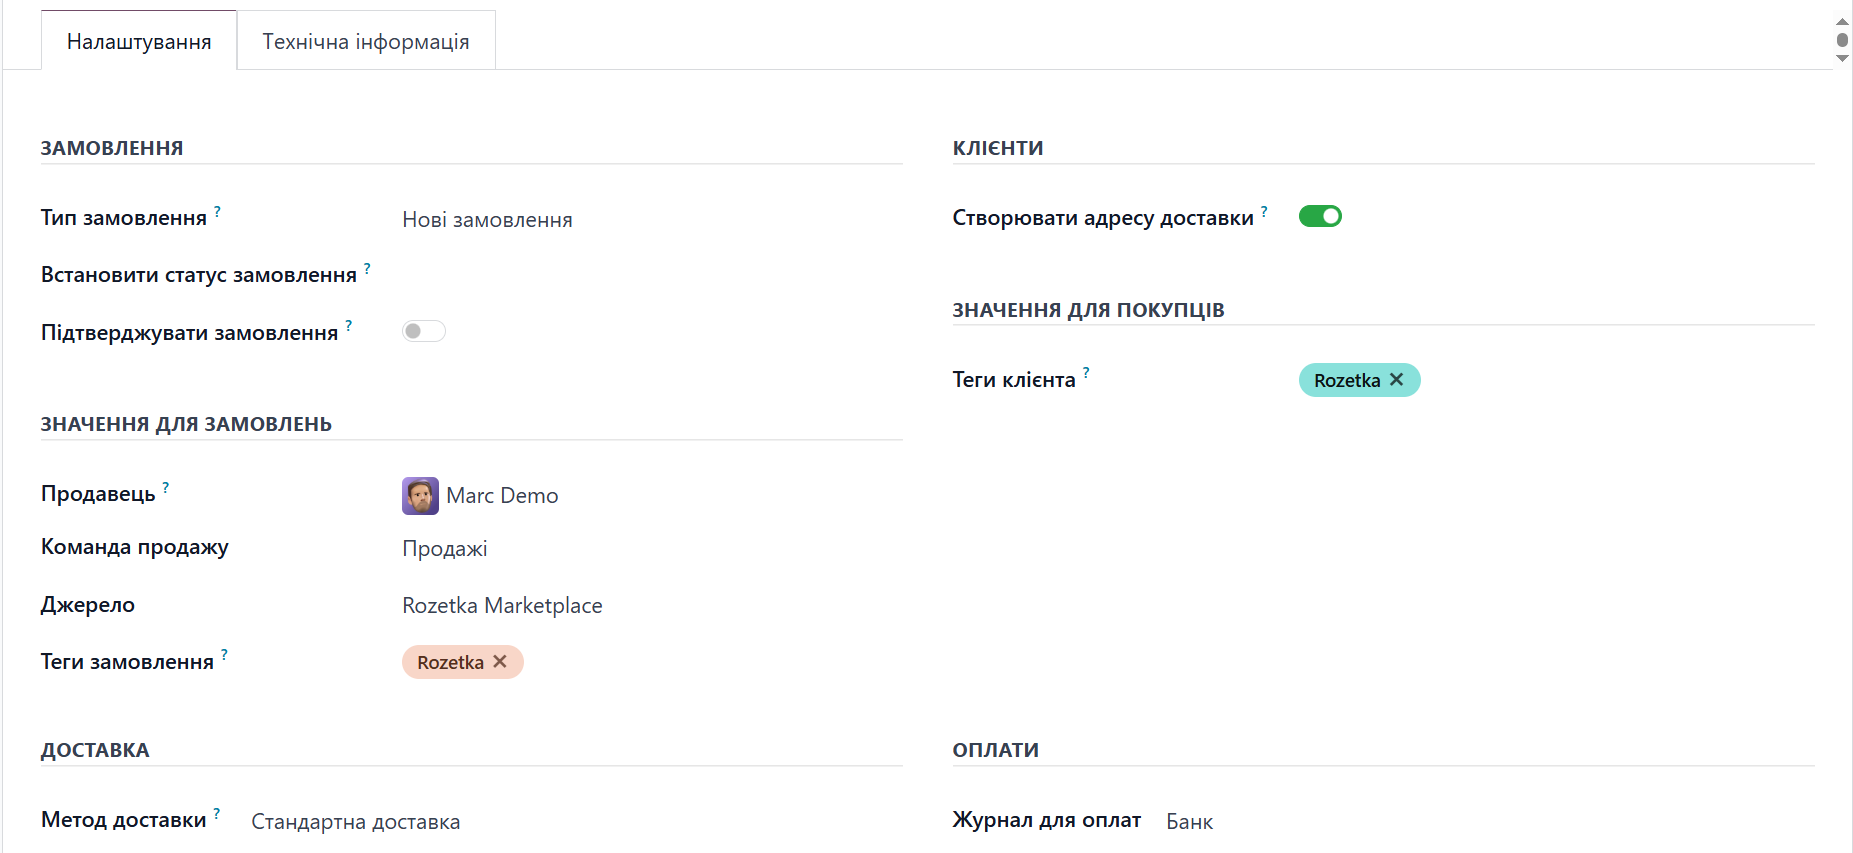
The module provides the following order synchronization settings:
- Select which Order Type to import from Rozetka.
- To change the sales order status immediately after import, select the desired status in the Set Order Status field
- Enable Confirm Order to automatically confirm imported sales orders in Odoo
- Select the responsible manager in the Salesperson field for imported Rozetka orders
- Specify the Sales Team, Source, and Order Tags for easy filtering and labeling of orders
Customer Settings
Customers placing orders may specify different delivery addresses. The Rozetka integration provides both customer contact data and delivery details. To capture both types of customer data, enable the Create Delivery Address option.
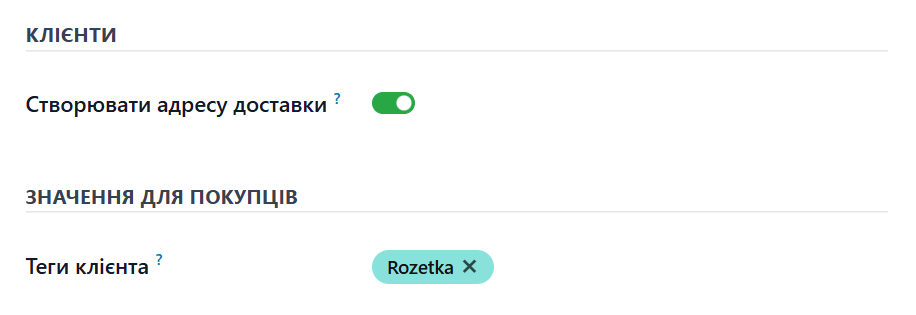
Add Partner Tags to label customers created by this integration.
Delivery and Payment
The Delivery section specifies which delivery method to add as a separate line item on the sales order.


To automatically record payments made on Rozetka.ua, specify an Account Journal. After selecting it, the module creates records for paid sales orders in this payment journal.
Integration Modes
The Rozetka marketplace integration allows you to test operations without making changes on Rozetka's side. The store has two modes:

- Test Environment — retrieves data from a real store for testing and initial setup without updating or sending data back.
- Production Environment — retrieves data from a real store and sends updates back to Rozetka regarding products, prices, current stock levels, and order statuses.

Feeds
Product exchange between Odoo and Rozetka is based on XML feeds. Data feeds have a structure compliant with Rozetka requirements, allowing you to manage the product list and attributes.
The Merchant Center — Feeds menu displays the list of feeds associated with stores.

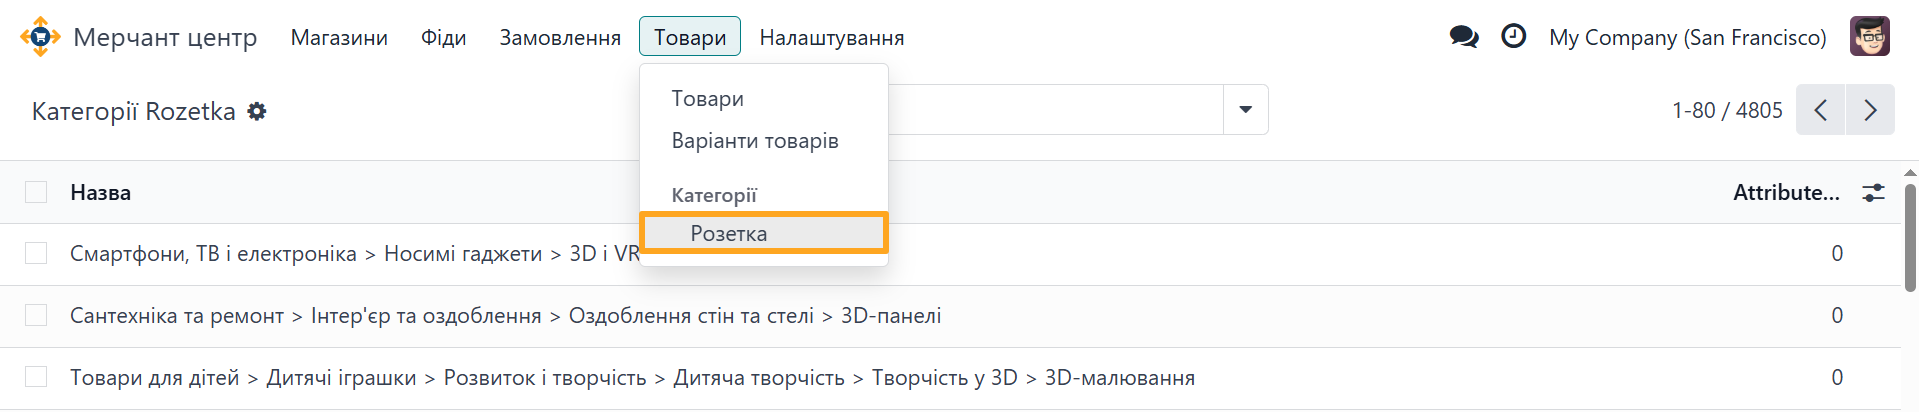
You can view the list of Rozetka product categories under Merchant Center — Products — Categories — Rozetka.

Sales Orders
The module adds the following information to sales orders:
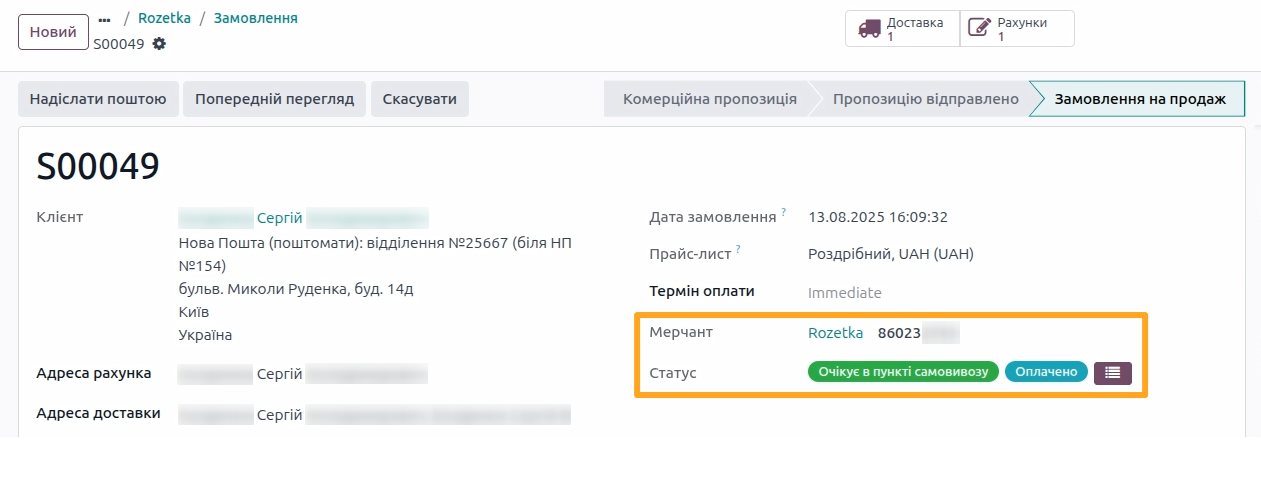
- Merchant: link to the store and external order number
- Status: current order status, payment state, and a button to manually change the order status
This information is also visible in the list view by enabling the corresponding columns.

Automatic Status Changes
The solution provides automatic sales order status updates in the following scenarios:
- After order confirmation, its status changes to Processing by Manager.
- When cancelling an order, you must specify the cancellation reason in the pop-up window, and after confirmation, the order status changes to the corresponding cancellation status.
- After validation of the picking/delivery document, the sales order status changes to Sent to Delivery Service.

Mapping
Mapping links objects between two information systems, identifying an object using a unique identifier, numeric code, or string code. In this context, product mapping links Odoo products to Rozetka products via a specific identifier. This process happens automatically by default.
The module also allows you to map products manually. Open a product variant, go to the Sales tab, and locate the Merchant Center section. Click Set to assign an external product identifier in Odoo.
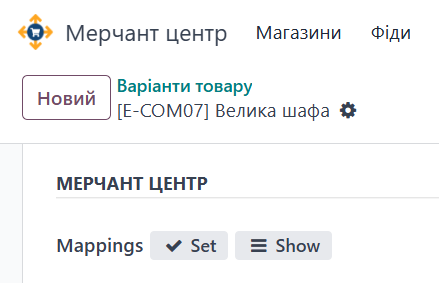
In the pop-up window, select the Merchant, enter the External ID, and click Set.
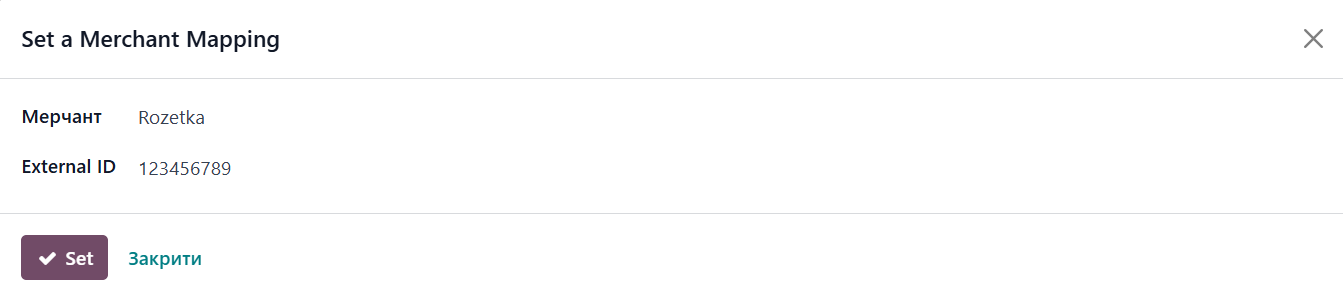
Click Show to view the mapping list for this product. To view the complete mapping list, go to Merchant Center — Configuration — Mappings — Record Mappings.

Changelog
17.0.1.2.1 2026-05-22
- Add a separate cron task to update sale order statuses.
- Add extra logging.
17.0.1.2.0 2026-02-26
- Add getting of the payment method on Rozetka.
- Implement syncing of the sale order date fields: Date Created, Date Modified.
- Improve the wizard to add a new store, add the Company field for the multi-company environment.
17.0.1.1.0 2025-10-31
- Improve the order cancellation wizard.
- Improve the Rozetka order flow.
- Improve views.
17.0.1.0.1 2025-03-20
- Improve cron data records.
- Improve a partner and delivery address processing.
17.0.1.0.0 2024-06-07
- Init version.
18.0.1.1.2 2026-05-19
- Add a separate cron task to update sale order statuses.
- Add extra logging.
18.0.1.1.1 2026-05-08
- Add technical method to get actual rozetka sale orders.
18.0.1.1.0 2026-02-26
- Add getting of the payment method on Rozetka.
- Implement syncing of the sale order date fields: Date Created, Date Modified.
18.0.1.0.5 2026-02-24
- Improve the wizard to add a new store, add the Company field for the multi-company environment.
18.0.1.0.4 2025-10-31
- Improve the shipping address processing.
18.0.1.0.3 2025-09-05
- Improve the wizard to cancel orders on Rozetka.
- Improve UA translations.
18.0.1.0.2 2025-08-13
- Improve updating of the payment status from Rozetka and a payment posting.
18.0.1.0.1 2025-07-22
- Improve registering of payments.
- Add the option to specify and set the initial Rozetka status for the new imported orders.
18.0.1.0.0 2025-06-12
- Migration from 17.0.
16.0.1.0.0 2025-07-15
- Migration from 17.0.
19.0.1.1.2 2026-05-22
- Add extra logging.
- Add a separate cron task to update sale order statuses.
19.0.1.1.1 2026-05-07
- Improve formatting of date values from Rozetka.
19.0.1.1.0 2026-02-24
- Improve the wizard to add a new store, add the Company field for the multi-company environment.
19.0.1.0.0 2025-11-03
- Migration from 18.0.
20.0.1.0.0 2026-09-30
- Migration from 19.0.
Resources
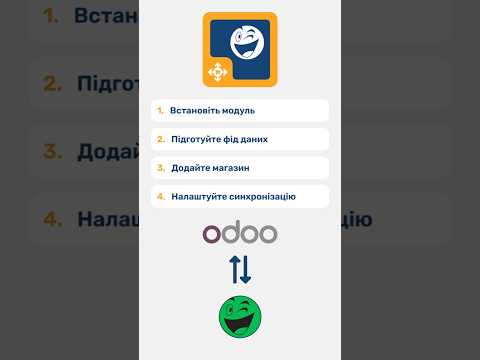
Learn how to configure the full integration with Rozetka.ua for your sales using API


Found out how to provide product data from Odoo to Rozetka using XML files
